Getting Started - Developer Tutorial
This tutorial will get you up-and-running with a new Adobe Experience Manager (AEM) project. In ten to twenty minutes, you will have created your own site and be able to create, preview, and publish your own content, styling, and add new blocks.
Prerequisites:
- You have a GitHub account, and understand Git basics.
- You have a Google account.
- You understand the basics of HTML, CSS, and JavaScript.
- You have Node/
npminstalled for local development.
This tutorial uses macOS, Chrome, and Visual Studio Code as the development environment and the screenshots and instructions reflect that setup. You can use a different operating system, browser, and code editor, but the UI you see and steps you must take may vary accordingly.
Get started with the boilerplate repository template
The fastest and easiest way to get started following AEM best practices is to create your repository using the Boilerplate GitHub repository as a template.
https://github.com/adobe/aem-boilerplate
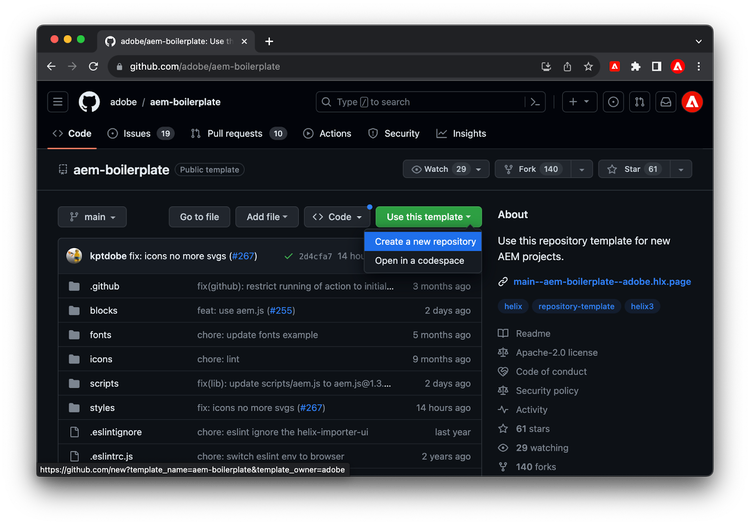
Just click the Use this template button and select Create a new repository, and select where you want to create this repository.
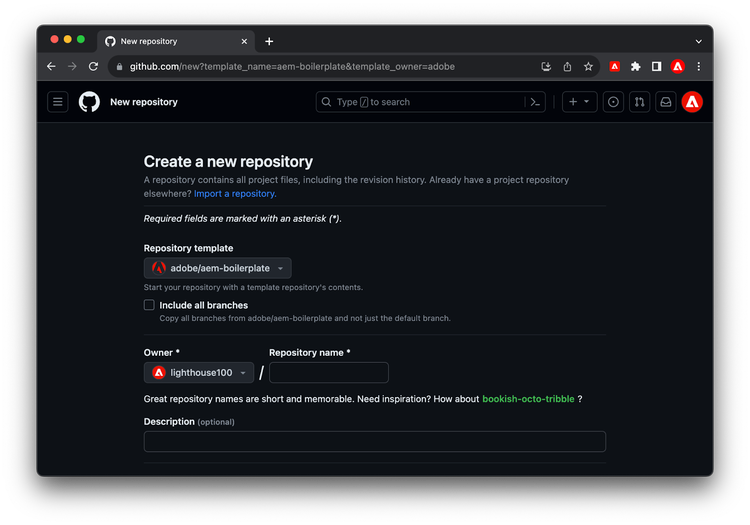
We recommend that the repository is set to public.
The only remaining step in GitHub is to install the AEM Code Sync GitHub App on your repository by visiting this link: https://github.com/apps/aem-code-sync/installations/new
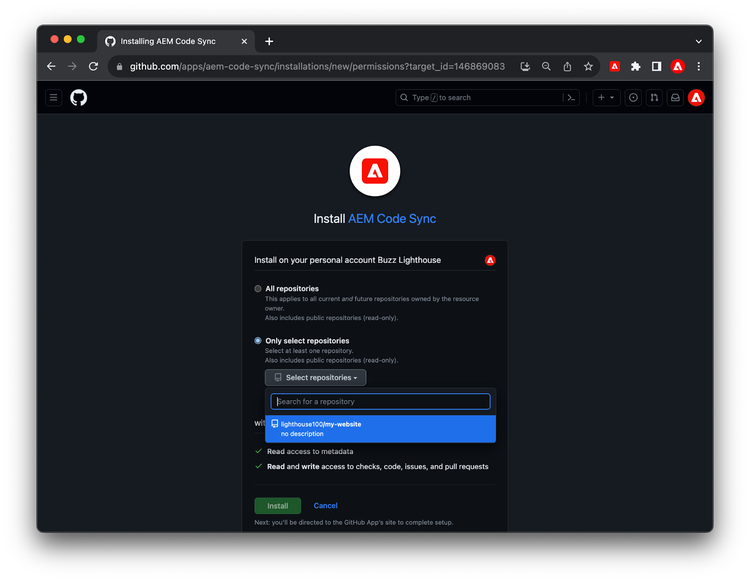
In the Repository access settings of the AEM Code Sync App, make sure you select Only select Repositories (not All Repositories). Then select your newly created repository, and click Save.
Note: If you are using Github Enterprise with IP filtering, you can add the following IP to the allow list: 3.227.118.73
Congratulations! You have a new website running on https://<branch>--<repo>--<owner>.hlx.page/ In the example above that’s https://main--my-website--lighthouse100.hlx.page/

Link your own content source using Google Drive
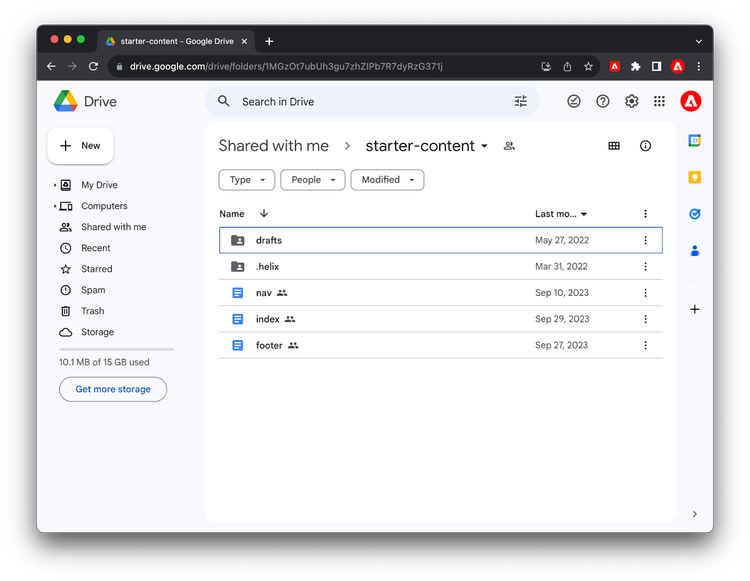
In your fork of the Boilerplate GitHub repository, the site points to an existing content source in Google Drive. See this folder for some example content.
This content is read-only, but it can be copied into your Google Drive folder to serve as a starting point.
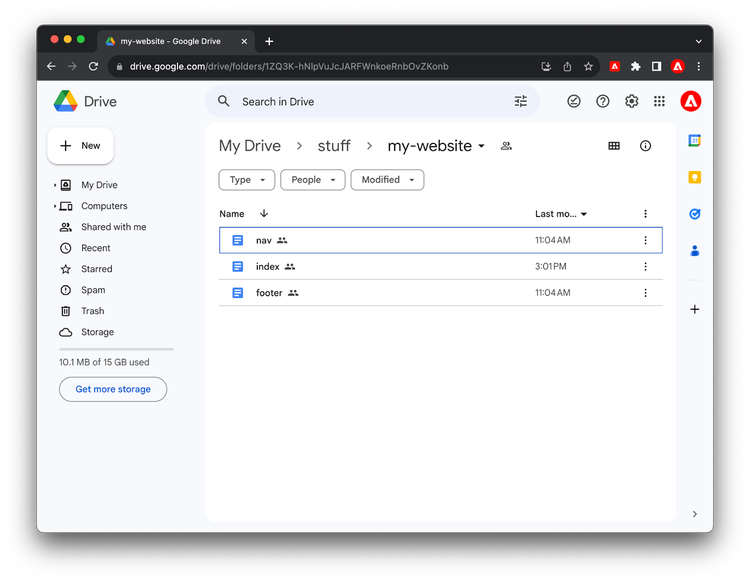
To author your own content, create a folder in your own Google Drive and share the folder with the Adobe Experience Manager user (helix@adobe.com).

A good way to start authoring your own content is to copy index, nav and footer from the sample content and familiarize yourself with the content structure. nav and footer are not changed frequently in a project and have a special structure. Most of the files in a project look more similar to index.
Open the files and copy/paste the entire content into corresponding files in your own Google Drive. You can also download the files via Download All or download individual files. However, remember to convert the downloaded .docx files back into native Google Docs, when you upload them to your folder in your Google Drive.
Now that you have your content, you need to connect that content to your GitHub repo. You do this by changing the reference in fstab.yaml in your GitHub repo to the folder you just shared.
Copy/paste the folder URL from your Google Drive to fstab.yaml.
Be aware that after you make that change, you will see 404 not found errors as your content has not been previewed yet. Please refer to the next section to see how to start authoring and previewing your content. If you copied over index, nav and footer all three of those are separate documents with their own preview and publish cycles, so make sure you preview (and publish) all of them if needed.
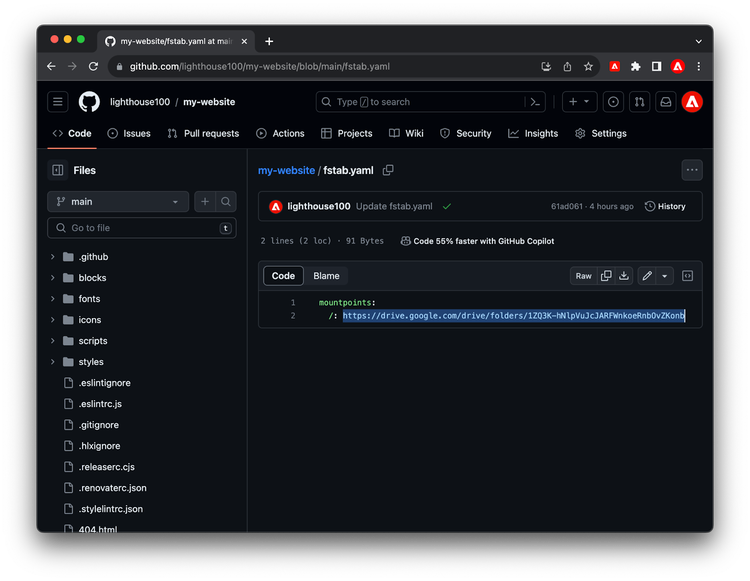
Commit your changes and you have hooked up your own content source to your website.
Preview and publish your content
After completing the last step, your new content source is not empty, but no content has been promoted to the preview or live stages, which means your website serves 404s.
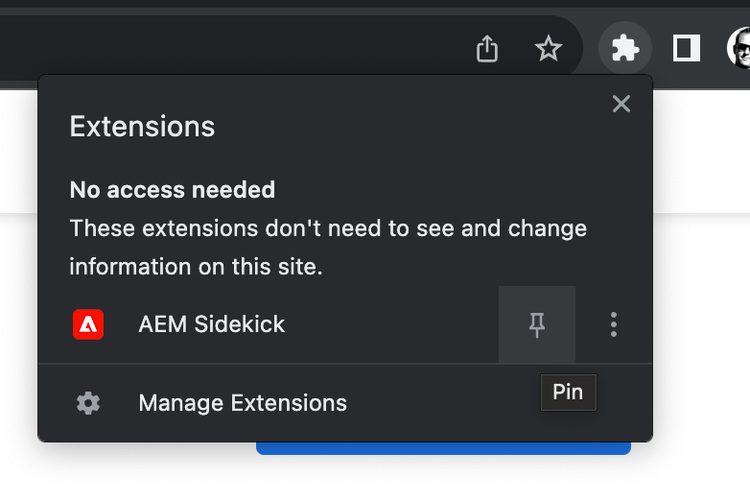
To preview content, an author has to install the Sidekick Chrome extension. Find the Chrome extension here.
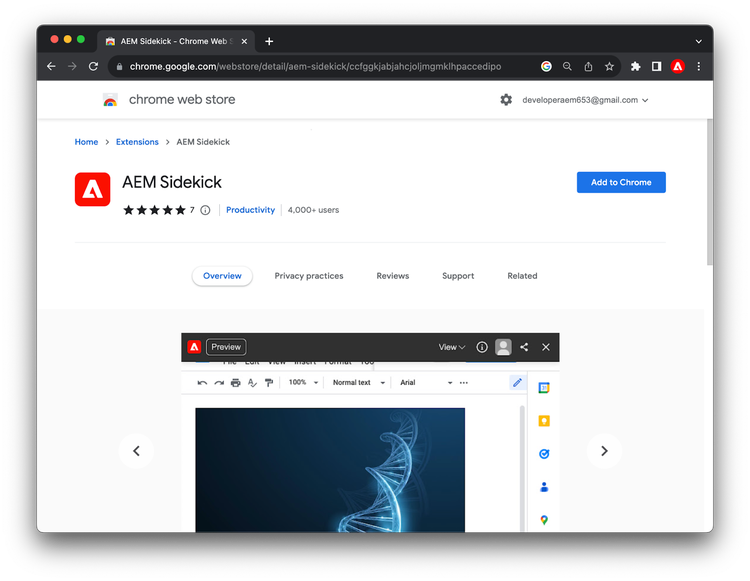
After adding the extension to Chrome, don’t forget to pin it, this will make it easier to find it.
To setup the Chrome extension, go to your previously shared Google Drive folder and click the extension icon in the browser toolbar and select Add this project.

As soon as the extension is installed and your project is added, you are ready to preview and publish your content from your Google Drive.
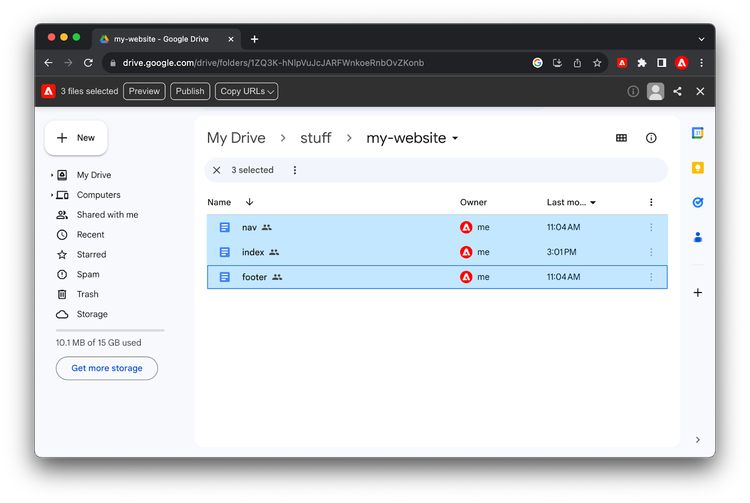
Select all three docs and activate the AEM Sidekick by clicking on your pinned extension. A new toolbar will appear. Clicking the preview or publish buttons will trigger the corresponding operation.
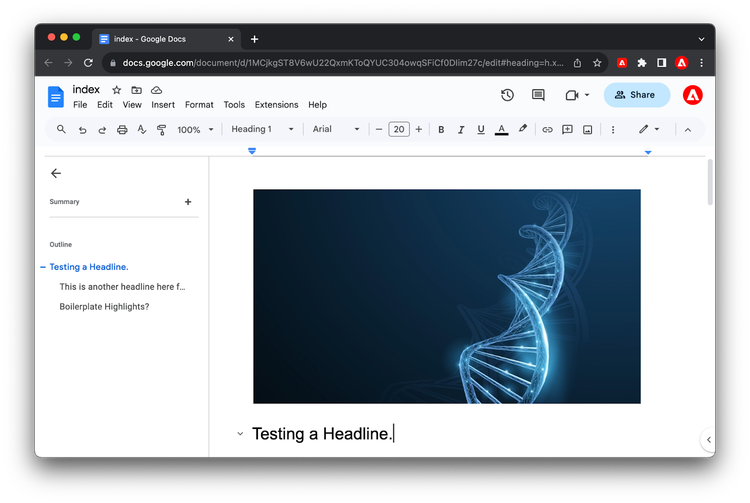
Open the index doc and make some changes. Activate the Sidekick by clicking on your pinned extension and then click the Preview button which will trigger the preview operation and open a new tab with the preview rendition of the content.

Start developing styling and functionality
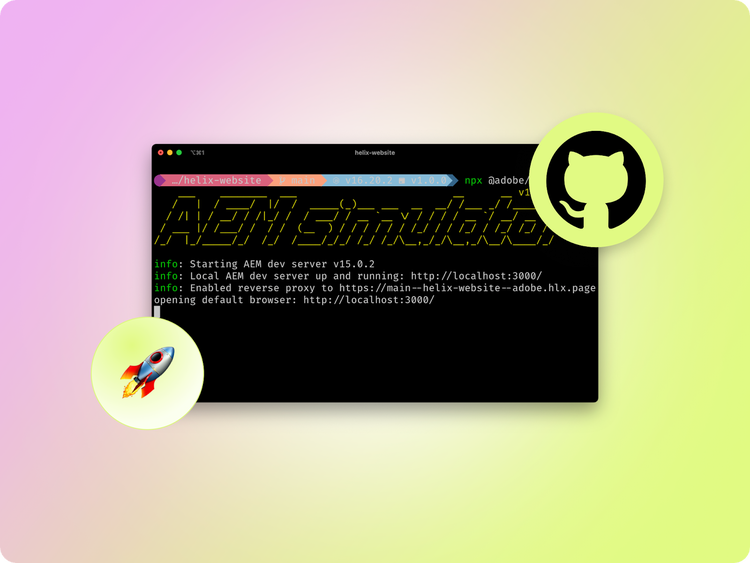
To get started with development, it is easiest to install the AEM Command Line Interface (CLI) and clone your repo locally through using the following.
npm install -g @adobe/aem-cli
git clone https://github.com/<owner>/<repo>
From there change into your project folder and start your local dev environment using the following.
cd <repo>
aem up
This opens http://localhost:3000/ and you are ready to make changes.
A good place to start is in the blocks folder which is where most of the styling and code lives for a project. Simply make a change in a .css or .js and you should see the changes in your browser immediately.
Once you are are ready to push your changes, simply use Git to add, commit, and push and your code to your preview (https://<branch>--<repo>--<owner>.hlx.page/) and production (https://<branch>--<repo>--<owner>.hlx.live/) sites.
That’s it, you made it! Congrats, your first site is up and running. If you need help in the tutorial, please join our Discord channel or get in touch with us.
Previous
Build
Up Next